Technique
Triangle Choke: Position, Angle, Finish, and Safe Practice
Study the triangle choke as a controlled positional sequence, with early tapping, immediate release, useful filming angles, and common corrections.
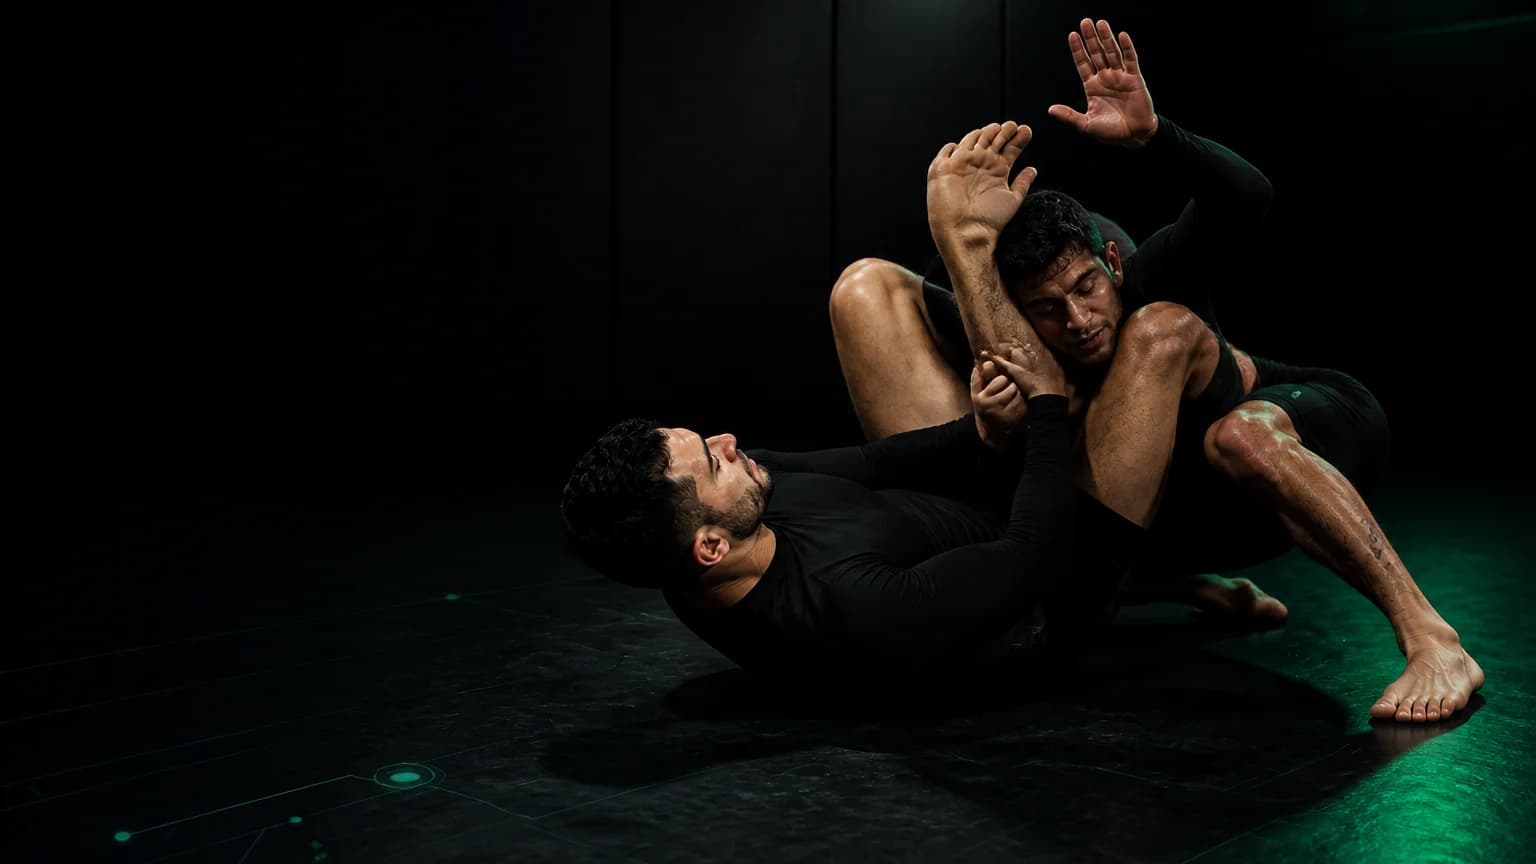
A triangle choke uses your legs to control one side of your partner's neck together with their trapped shoulder and arm. In Brazilian jiu-jitsu, you will often enter it from guard, but the same finishing geometry can appear from mount, side control, scrambles, and transitions. The essential sequence is posture control, one-arm isolation, leg position, angle, controlled finish, and immediate release.
Practise only with a qualified coach and a consenting partner. Apply pressure gradually, tap early, release at the first tap or verbal signal, and never use a choke on an untrained person. Loss of consciousness can occur quickly and without dramatic warning.
Build position before pressure
| Phase | Your job | Review question |
|---|---|---|
| Control posture | Keep the partner from freely stacking or withdrawing | Did I control distance before throwing my legs? |
| Isolate one arm | Keep one arm inside and one outside | Can I clearly see which shoulder enters the lock? |
| Connect the legs | Place the locking leg across the neck line | Did my foot and knee reach a stable position without pulling the partner's head? |
| Create angle | Turn enough to align the thigh with the neck and shoulder | Did I stay square and compensate by squeezing? |
| Finish gradually | Close space through position, not sudden force | Did my partner have time and a clear way to tap? |
| Release | Open immediately | Did I stop at the first signal? |
The IBJJF rule book and technical-foul materials govern competition legality by age, belt, and division. They do not replace your academy's safety rules or your coach's judgment.
Control posture and distance
From closed or open guard, first prevent your partner from freely raising their torso. Use grips and frames that your coach permits. If you throw both legs upward before controlling posture, your partner may create distance, stack you, or pass.
Do not yank the head or neck. Ask your coach to correct the entry and grip sequence. During drilling, your partner should provide predictable resistance and enough time for both people to communicate.
Put one arm inside the leg frame
The classic configuration traps one arm with the partner's neck while the other arm remains outside. Confirm this before you close the lock. If both arms stay inside, you have a different position. If both arms stay outside, you do not have the intended triangle.
Keep track of the trapped arm and shoulder. The finish depends on the relationship among your thigh, the partner's neck, and their own shoulder, not on crushing the neck between both knees.
Create the finishing angle
Turn your body so the back of your knee can close over the ankle or lower shin of the locking leg without forcing the foot. Many failed triangles stay square beneath the partner and then try to replace angle with maximal squeezing.
Use your frames and hip movement as your coach teaches. Keep your own knee and ankle comfortable. If you cannot close the position without pulling the foot or twisting the knee, stop and reset.
Close space under control
Once your alignment is correct, connect the legs and reduce space gradually. Your partner should tap before pressure becomes intense. Release immediately. Never ask someone to wait so you can see whether the choke works.
The IBJJF identifies the triangle among effective competition submissions, but competition frequency does not make it suitable for unsupervised practice. Read the federation's submission overview as competition context, not as a safety protocol.
Film without obstructing the drill
Use a high front-oblique angle to see the partner's posture, trapped arm, leg connection, and finishing angle. Use a side angle to review hip position and whether stacking pressure changes the setup.
Keep the camera outside the mat boundary. Do not ask either person to repeat a choke for a better shot after fatigue or discomfort appears. Film the release so you can verify that the drill stops on the signal.
Diagnose the first failed checkpoint
| What happens | Check first |
|---|---|
| Partner postures out | Posture control and distance before the legs rise |
| Both arms remain inside | Arm isolation during the entry |
| You cannot connect the legs comfortably | Angle, leg placement, and coach-approved adjustment |
| You squeeze hard without a response | Stop, release, and rebuild the position with your coach |
| Partner stacks you | Entry timing, frames, and whether you should abandon the attempt |
| Your knee or ankle hurts | Release immediately and ask for a safer position |
Do not continue a failing submission by adding force. Positional failure tells you to reset.
Use a safe learning ladder
- Identify the one-arm-in, one-arm-out structure without closing the legs.
- Practise posture control and release.
- Build the leg position without pressure.
- Add the angle slowly with a cooperative partner.
- Connect the finish only under direct coaching.
- Add predictable escape reactions before live resistance.
Pair this guide with the arm triangle, rear naked choke, and grappling video analysis guides. Different chokes use different control points, and your coach should decide which version fits your ruleset and level.