guard
Omoplata: Entries, Position Control, and Common Mistakes
A practical guide to controlled omoplata entries, hip and leg position, cooperative drilling, common escape situations, and safe troubleshooting for BJJ training.
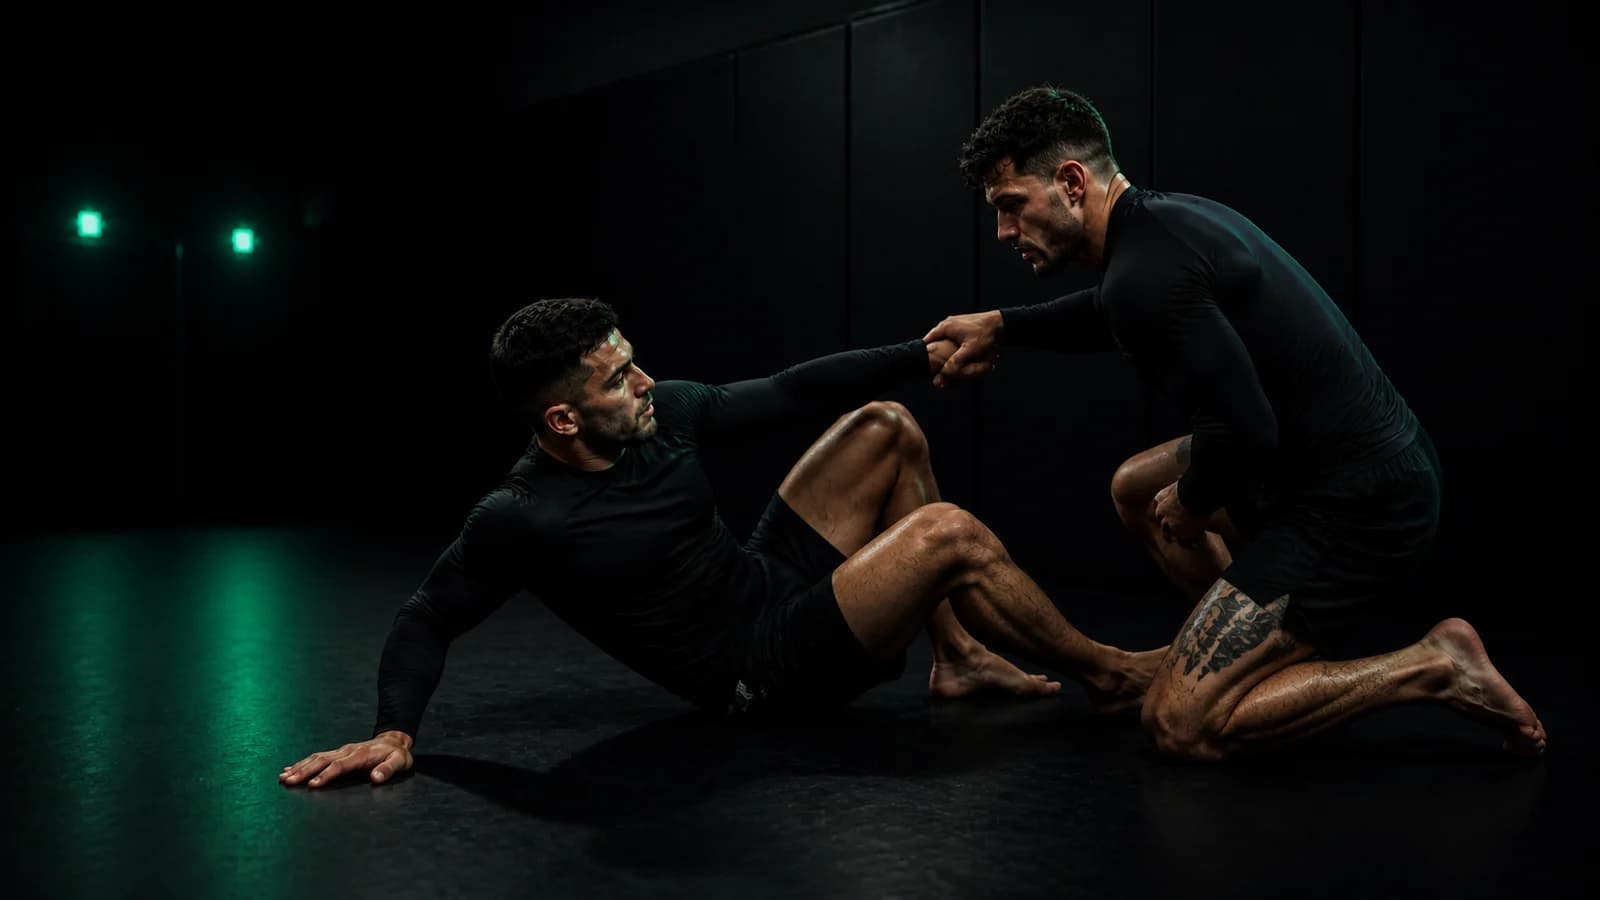
An omoplata is a grappling shoulder lock that you enter by bringing a leg over your partner's trapped arm and turning into a position beside them. You can also use the position to threaten a sweep or connect to another guard attack. Learn the entry and positional control with an instructor before you practise any finishing pressure.
For your first sessions, separate three jobs: recognise the opening, arrive in the position without rushing, and release immediately when your partner taps or says stop. Completing an entry does not prove that you have controlled the shoulder safely.
Understand the position before learning more entries
An omoplata differs from an armbar in what you control and how you arrange your legs around the arm. Do not transfer an armbar finishing movement to an omoplata. Ask your instructor to show the position from both sides and identify which arm you have isolated.
Look for the relationship between the trapped arm, your legs, and your partner's posture. A still photograph can hide the grip or the space around the shoulder. A video can show a transition but cannot tell you how much pressure either person feels.
Before you start, agree on a stop signal that works even when someone cannot use a hand to tap. A verbal stop counts immediately. If either person becomes uncomfortable, release and reset. Do not wait for a stronger tap or try to complete the movement first.
Compare entry situations, not a collection of tricks
You do not need several unrelated entries in your first lesson. Choose one your instructor already teaches from a guard you understand.
| Starting situation | What you are learning to recognise | What to ask your instructor |
|---|---|---|
| A controlled guard position | Whether you can isolate an arm and create an angle without pulling abruptly | Which grip and direction should I use from this starting position? |
| A defended scissor sweep | Whether the reaction to the sweep creates an opportunity to change attacks | At which point should I abandon the sweep rather than force it? |
| A transition your class already practises | Whether you can stay connected while the position changes | Where should we pause and reset during a cooperative drill? |
Stephan Kesting demonstrates a scissor-sweep-to-omoplata transition from closed guard. His example shows why an entry can depend on your partner's response to a different attack. It is one demonstrated sequence, not a rule that every defended scissor sweep produces an omoplata.
Have your instructor demonstrate the entry before you try to reproduce it. Ask them to identify the controlled arm, the grip you should keep, the direction you should turn, and the point at which both partners should stop. Those answers matter more than collecting another entry name.
Separate entering, controlling, and finishing
Treat these as different learning stages. In an entry drill, your goal is to arrive in a position your instructor can inspect. In a control drill, your instructor may introduce a limited, agreed response from your partner. Finishing a shoulder lock requires separate instruction and permission.
Do not add resistance simply because an entry felt easy. Your partner may have helped you reach the position, or you may have used tension that neither of you noticed until you repeated it.
Use a short verbal check after each attempt: “Was that comfortable, and could you signal clearly?” If the answer is uncertain, stop the sequence and ask the instructor to check it. Neither a checklist nor an app can clear you to increase joint pressure.
Check the entry
Ask whether you isolated the intended arm before changing position. If you lost the grip or cannot identify the arm you are controlling, reset. Do not swing a leg across a partner while guessing where their shoulder will end up.
Check the position
Ask your instructor to inspect your distance, posture, and the space around the trapped arm. Avoid trying to repair every loss of control by squeezing harder. The missing piece may be the angle or the order of the entry, not effort.
Check the release
Practise letting go as deliberately as you practise entering. Your partner should not have to struggle out after saying stop. When you reset, give each other enough space to move comfortably before starting again.
Common mistakes to catch early
Chasing the finish before understanding the entry
If you judge every attempt by whether someone taps, you can miss the parts you need to learn. For a cooperative entry drill, record whether you reached the agreed stopping point and released on request. A tap is not your target.
Adding force when you lose the arm
If your partner withdraws the arm, let the attempt end. Ask what you lost first: the starting grip, the angle, or the connection during the transition. Do not pull the arm back into place while your legs still limit your partner's movement.
Copying a photograph without understanding the transition
Two people can look similar in a still image while applying very different pressure. Watch your instructor enter and leave the position. Ask to see the part you cannot identify instead of filling the gap from memory.
Practising several corrections at once
If you change the grip, turn, posture, and timing together, you cannot easily tell what you learned. Choose one observation with your instructor and repeat the same cooperative starting situation.
Treating flexibility as permission to continue
Your partner may tolerate a position differently from you. That does not make extra pressure appropriate. Respect a stop signal immediately, regardless of what you expected the position to feel like.
What to do when your partner starts escaping
An escape changes the situation you originally agreed to practise. You do not need to improvise a counter to every response.
If your partner begins to stand, stack, turn, or roll, stop adding force. During a beginner cooperative drill, pause or reset as your instructor directs. Do not roll onto your head or neck, hang from a trapped shoulder, or tighten the position to prevent someone moving.
More experienced partners may practise specific responses under instruction. Keep the response within the drill's agreed limits. “One slow posture change” and “try to escape however you can” are different exercises.
Use one recorded entry to ask a better question
After you understand the drill, ask your partner for permission to record a cooperative attempt. Keep both people visible and follow your gym's recording rules. Choose a view that shows the transition without placing the camera where someone could fall onto it.
With Grappling AI: Mat Coach, you can review recorded gi or no-gi grappling video for feedback on visible positions, grips, and transitions. Record one entry your instructor has already taught, review the clip, and write one question in your training log for the next lesson. Treat the feedback as an observation to discuss, not a measurement of shoulder pressure or permission to finish the lock.
A fictional example: turn a failed entry into a useful question
Mara practises an entry during class but loses contact before she reaches the agreed stopping point. She initially thinks she needs to squeeze harder.
Instead, she and her partner pause. With their instructor, she reviews where she changed grips. For the next attempt, she focuses only on keeping the instructed grip through that part of the transition. They still stop before finishing pressure.
The useful decision is the narrower practice question: “Am I changing grips before I have established the next connection?” This example does not claim that one correction will solve every failed entry.
Copy a short lesson note
Use these prompts after an instructor-led session:
| Write this down | Your note |
|---|---|
| Starting position and entry taught | |
| Arm and grip I needed to control | |
| Stopping point we agreed on | |
| First place I lost the position | |
| One question for my instructor | |
| What my partner said about comfort and release |
Keep the note descriptive. “I lost the sleeve before turning” is more useful than “my omoplata is bad.” If you cannot tell what happened, write that uncertainty instead of inventing an explanation.
For your next lesson, bring one entry question and ask your instructor to choose the stopping point. Learn to recognise and control the position before you add resistance or finishing pressure.